Cosmetics and makeup
Makeup for March 8: step-by-step instructions for the perfect look
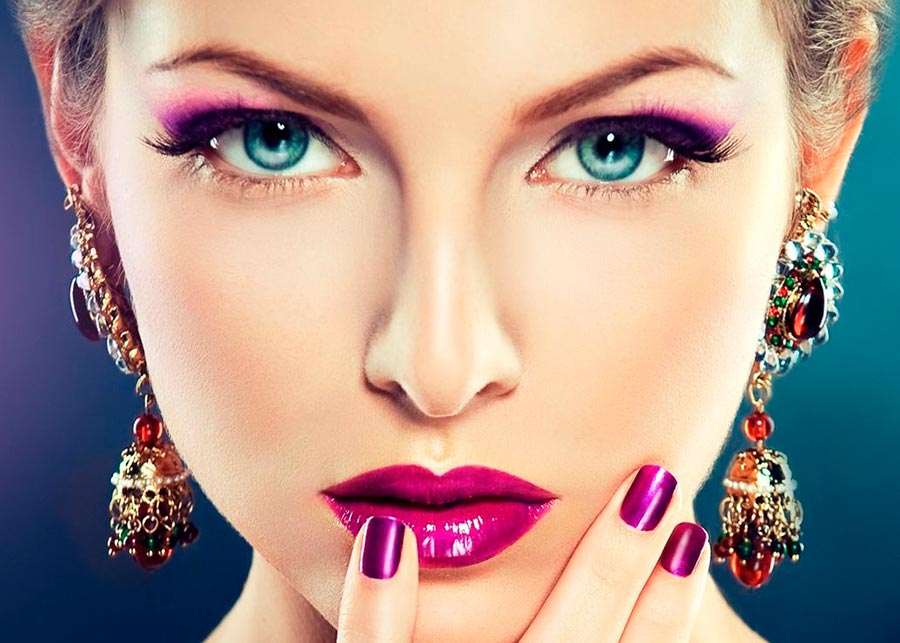
For the holiday on March 8, I want to look especially charming. At the same time, it does not matter where and with whom you will meet this day. It can be a romantic dinner, a party with friends, or a photo session with girlfriends. And the main "trump card" should be your ideal image: outfit, hairstyle, manicure and, of course, makeup. With our detailed step-by-step instructions in just 10 steps, you can easily do your makeup like a master at home.
Step # 1: cleansing your skin
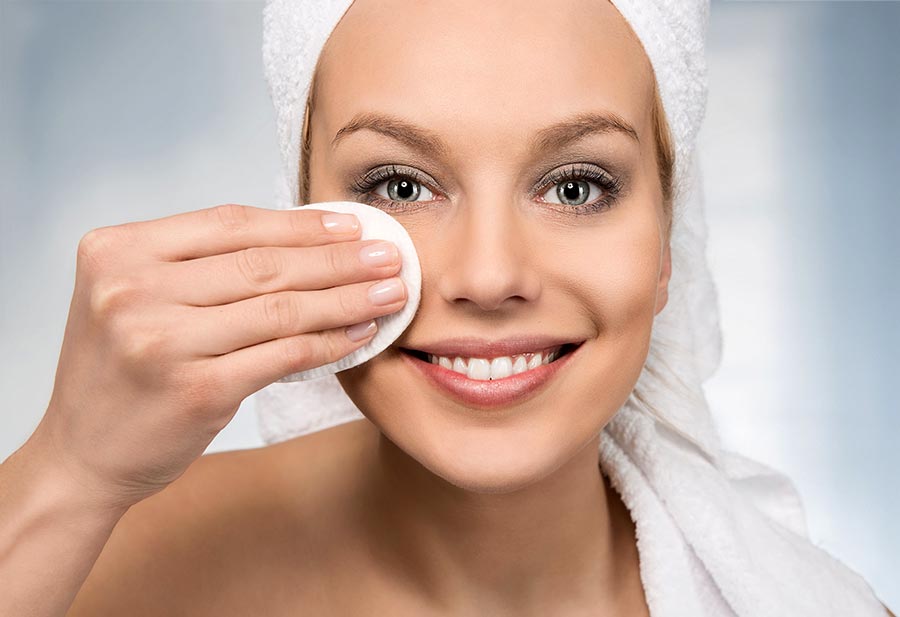
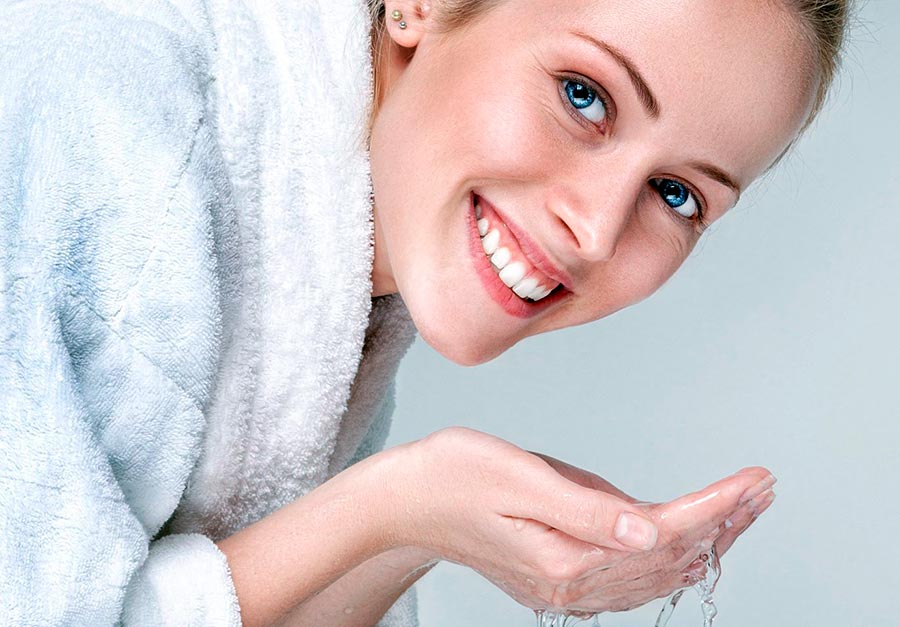
First, the skin must be thoroughly cleansed. Wash off makeup if applied to your face with a cotton pad and micellar water or cleansing milk. After that, you need to wash yourself with warm water using a gentle gel, foam or mousse for washing. You can use a mild sponge to cleanse your skin even better.
Step # 2: additional cleansing
If you have enough time for additional beauty treatments (namely, on March 8, we advise you to allocate it!), You can use a soft scrub or gommage for cleansing. This will remove all dead skin cells, cleanse the skin more thoroughly, and make it perfectly smooth. If there is no time, washing with a gel or foam will be enough, as we described in step number 1.
Step # 3: moisturize your skin
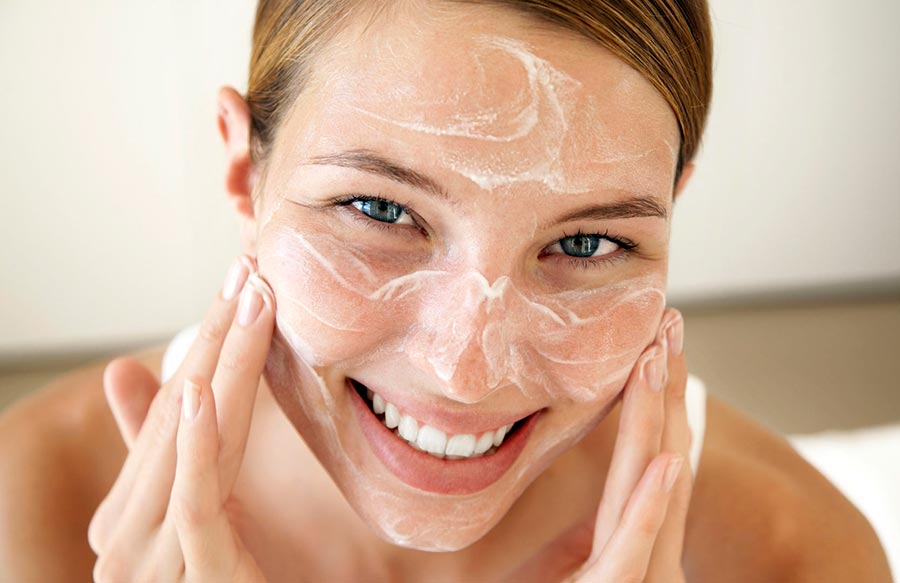
After cleansing, it is good to apply an intensely moisturizing mask, but not too nourishing and rich, so that the skin does not add an oily sheen. Choose masks with vitamins and antioxidants - they can instantly give the skin a radiance.
If there is no time for a mask, use your regular daytime moisturizer, again, not too oily and rich. Remember that the cream must be absorbed completely, and therefore it is here that you need to wait for a pause. Otherwise, there is a risk that the decorative cosmetics applied after will not fit perfectly and "flow" after a short time.
While the cream is absorbed (or while you hold the mask on your face), apply special patches under the eyes to prevent swelling and dark circles. This is really a godsend, a real SOS tool. The patches will provide a radiant look and no puffiness under the eyes. By the way, they can be used after stormy holidays and night dances, for example, in the morning after March 8, in order to look perfect.
Step # 4: preparing for makeup
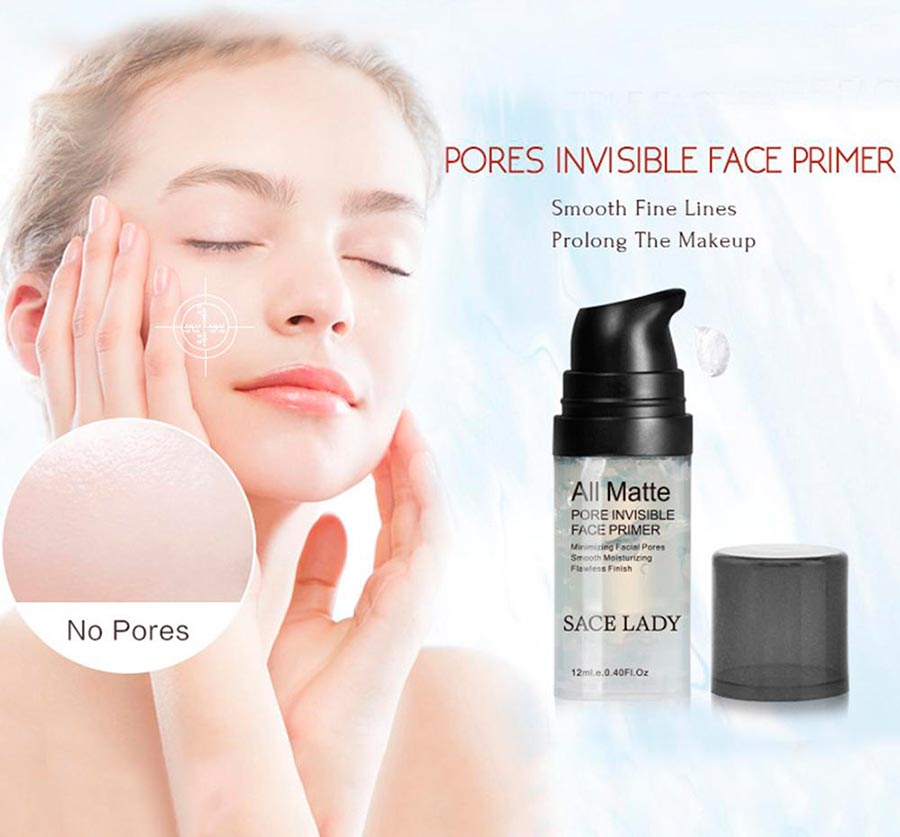
Today there are many products that can help prepare skin for make-up so that make-up will fit perfectly. These are the so-called primers or makeup bases. They come in the form of light creams or serums, lotions, and liquids. They moisturize the skin well, but at the same time remove the oily sheen, make the surface matte, so that the foundation lies well.
Choose a primer or makeup base according to your skin type. For dry, prefer an intensely moisturizing primer. For oily - sebum-regulating matting serums and liquids. For additional makeup durability, you can choose a base with silicone in the composition. And for shine - textures with reflective particles.
Step # 5: apply foundation
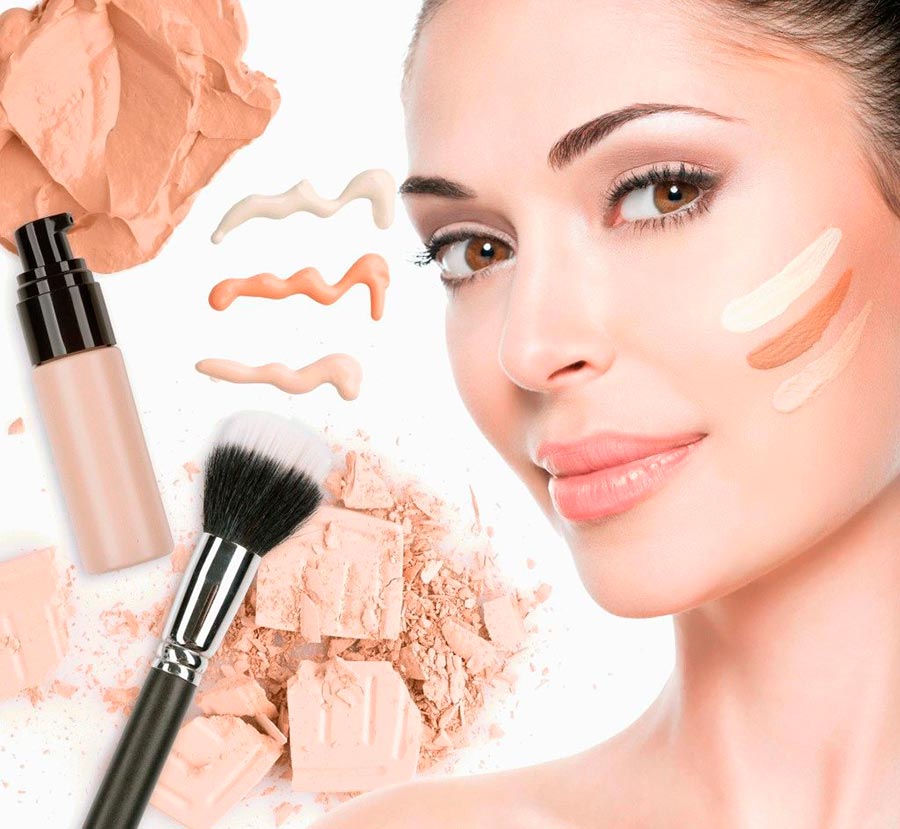
The primer should also be absorbed well: follow the instructions for its application or wait at least 10-15 minutes until it is completely absorbed by the skin. Then you can apply foundation. Surely, you have your "favorites" from tonal foundations, or such creams that you use every day, and are confident in their durability. In any case, the foundation must match your skin tone, otherwise it will create a mask effect.
It is better to apply foundation with special sponges or brushes - today there are an abundance of options for their shapes, sizes and structures so that the cream fits perfectly.But some makeup artists prefer to apply foundation with their fingers, even slightly moistened with water or thermal remedy. So the layer of cream will be thinner, it will lie better and smoother, the skin will not be weighed down. The foundation should also be absorbed, do not rush to immediately apply the rest of the makeup.
NB:
We have emphasized more than once that each stage of applying a cream, primer, foundation takes time to fully absorb. This is necessary so that the skin adapts and the decorative cosmetics does not "flow". Therefore, of course, try to allocate more time for festive makeup than for your usual everyday. Especially if you don't use that much makeup every day.
Step # 6: Apply Concealer and Concealer
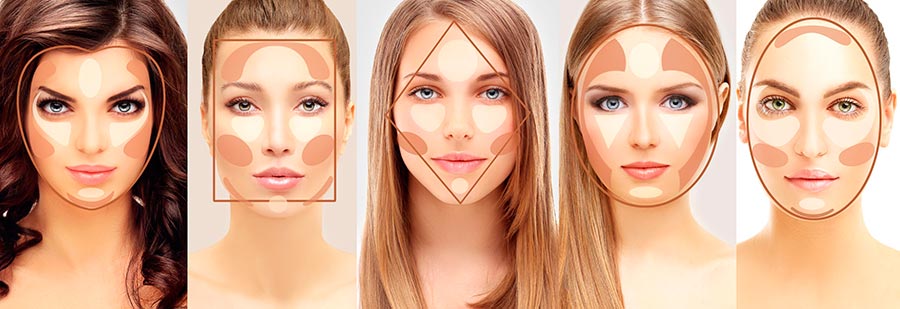
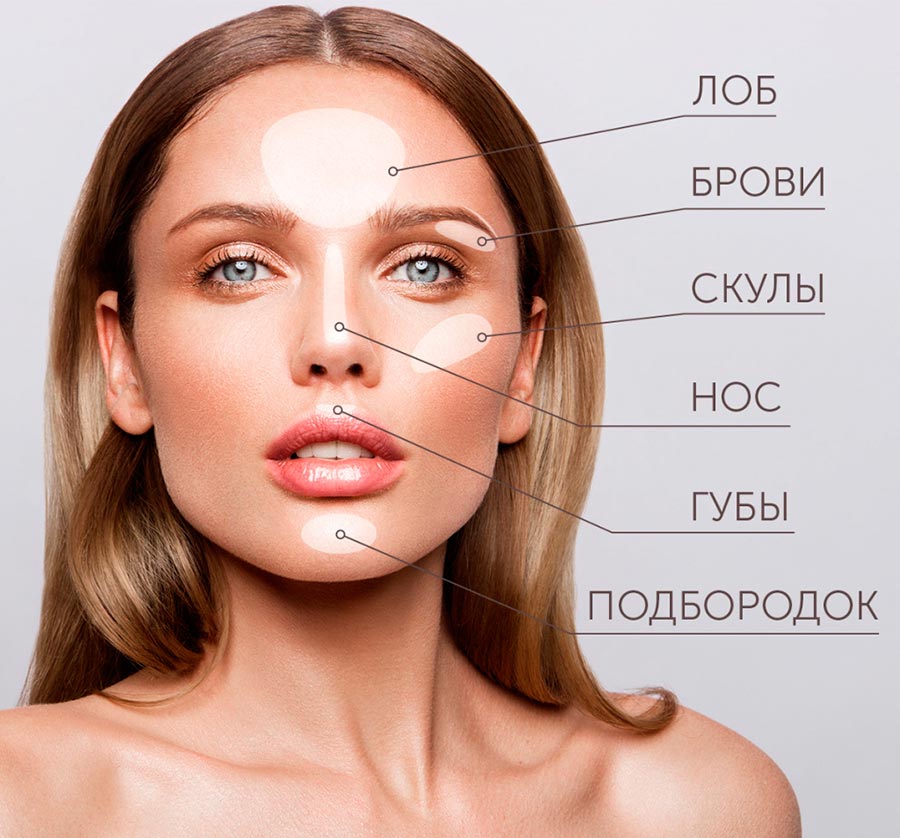
A concealer is needed to mask dark circles under the eyes, lighten the skin, and remove visible imperfections. Apply it under the eyes, in the center of the forehead, along the bridge of the nose, in the center above the upper lip and slightly on the chin. The same spots can be powdered with a highlighter with a shine effect, but try not to overdo it or use light textures without an obvious shine.
The dark concealer is used to sculpt the face, straighten the oval and shapes, give expressiveness to the cheekbones, etc. If it is better to use a light creamy product as a concealer, then a darker concealer is better to choose a dry, powdery one. Apply it in the hollow under the cheekbone, on the wings of the nose, temples, the upper part of the forehead near the hairline. Use a sponge or brush to blend the border between light concealer and dark concealer.
Step 7: highlighting the eyebrows
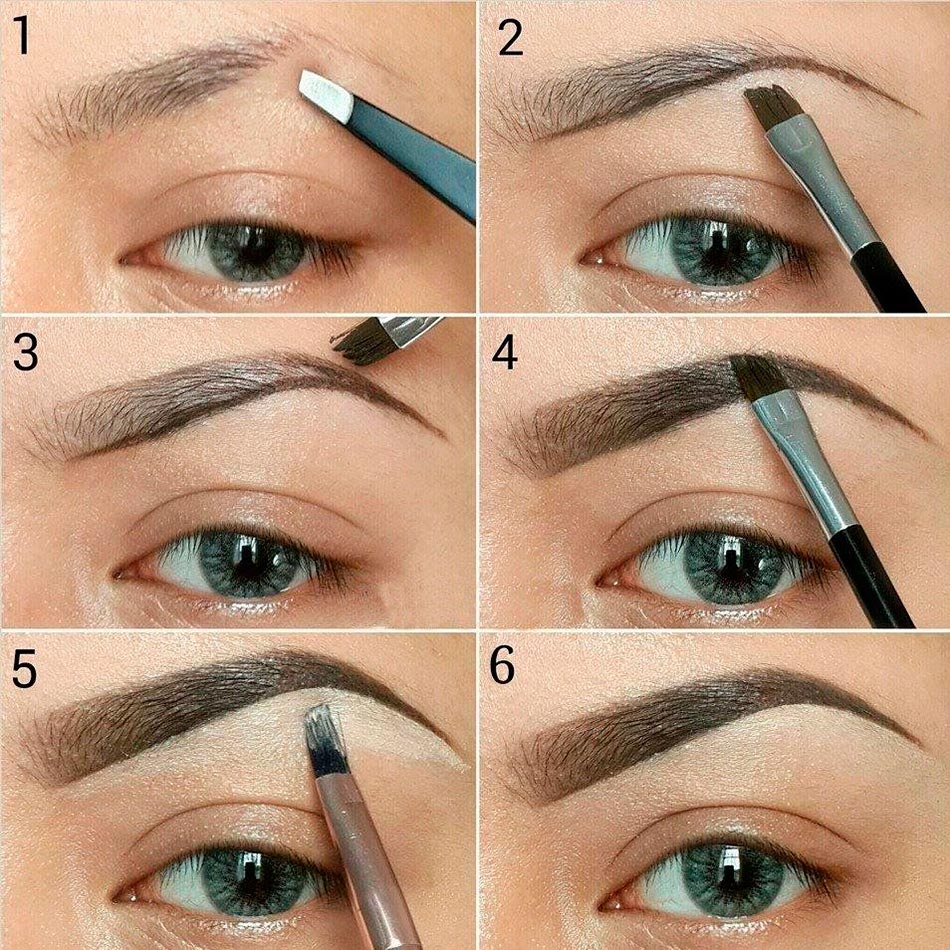
When the skin is “ready” for the application of tonal means, the eyebrows can be highlighted. Use the remedy that you are used to using daily. To create the effect of voluminous, fluffy, “powdery” eyebrows, shadows and special dry products are suitable. If your eyebrows are unruly and need to be styled, use pastes and eyeliners. With a pencil, you can create clear shapes and "finish" the missing hairs.
Step # 8: eye makeup
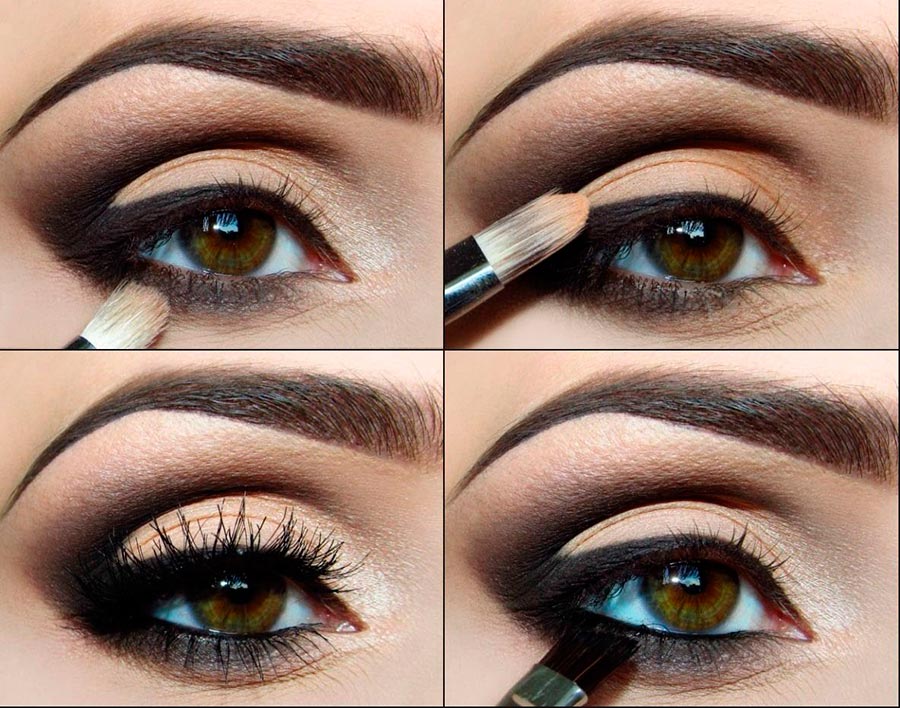
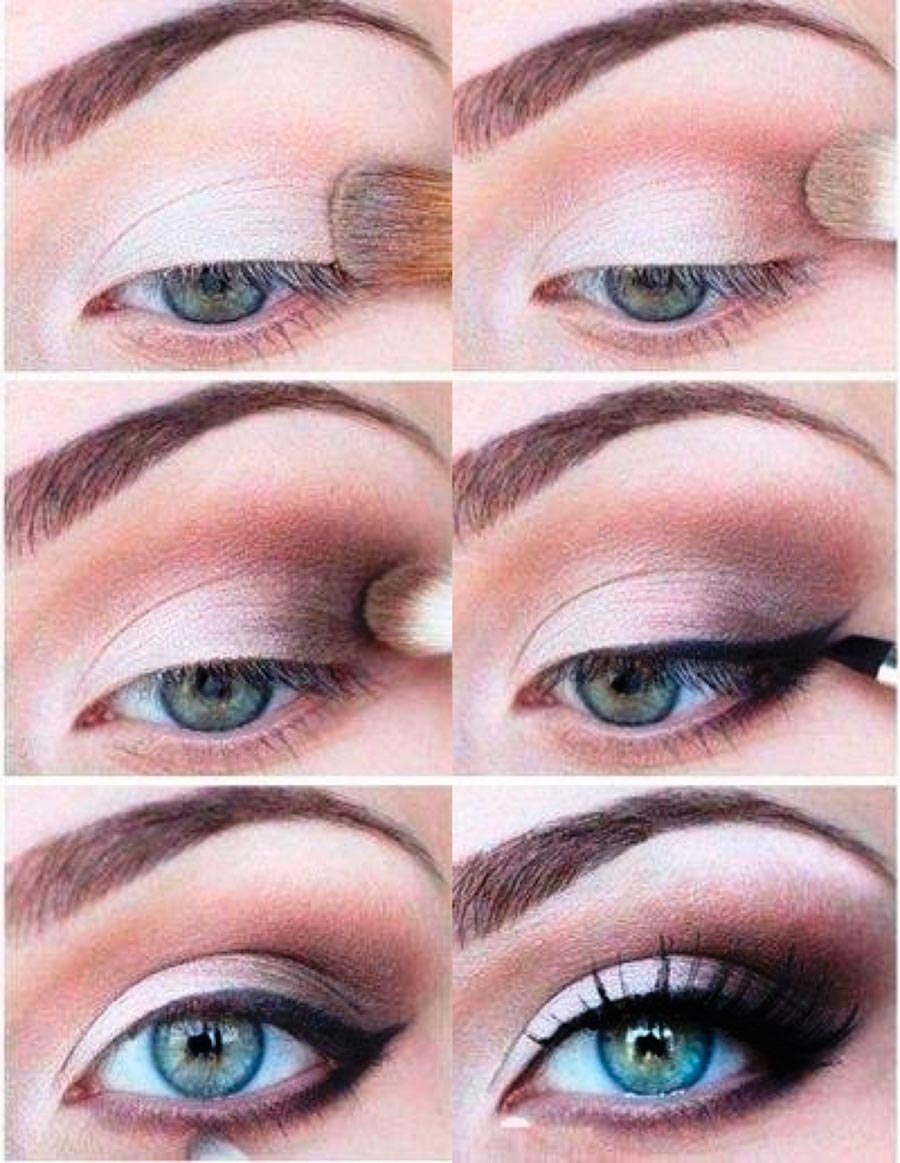
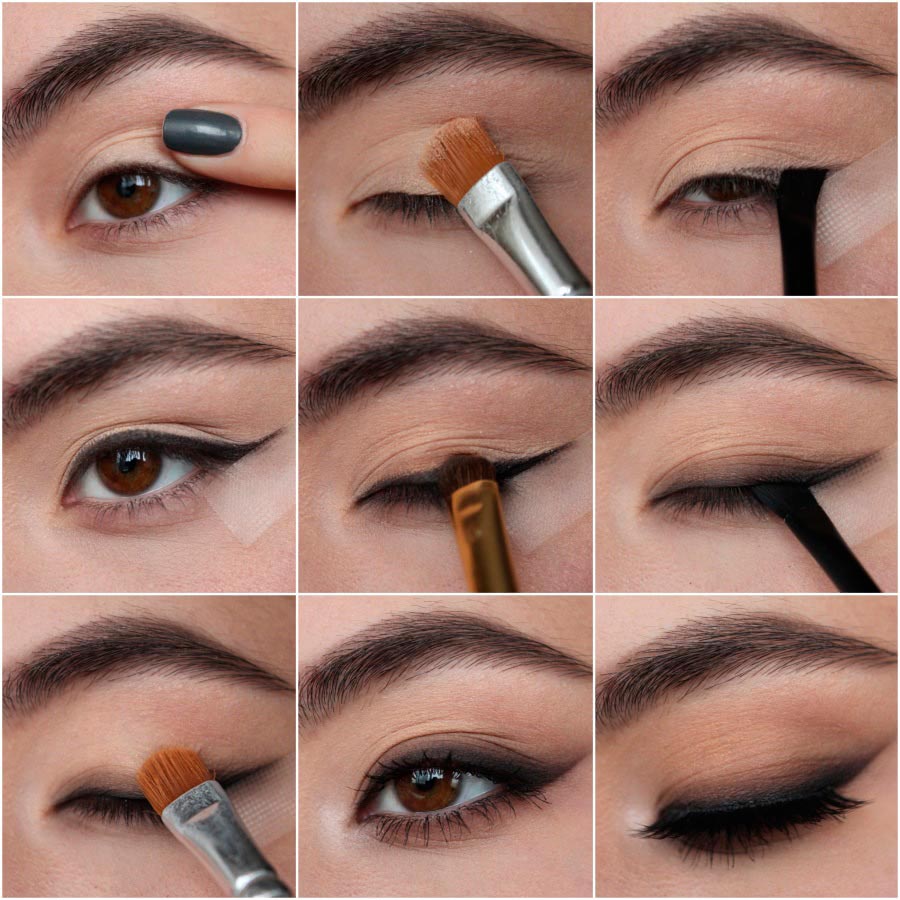
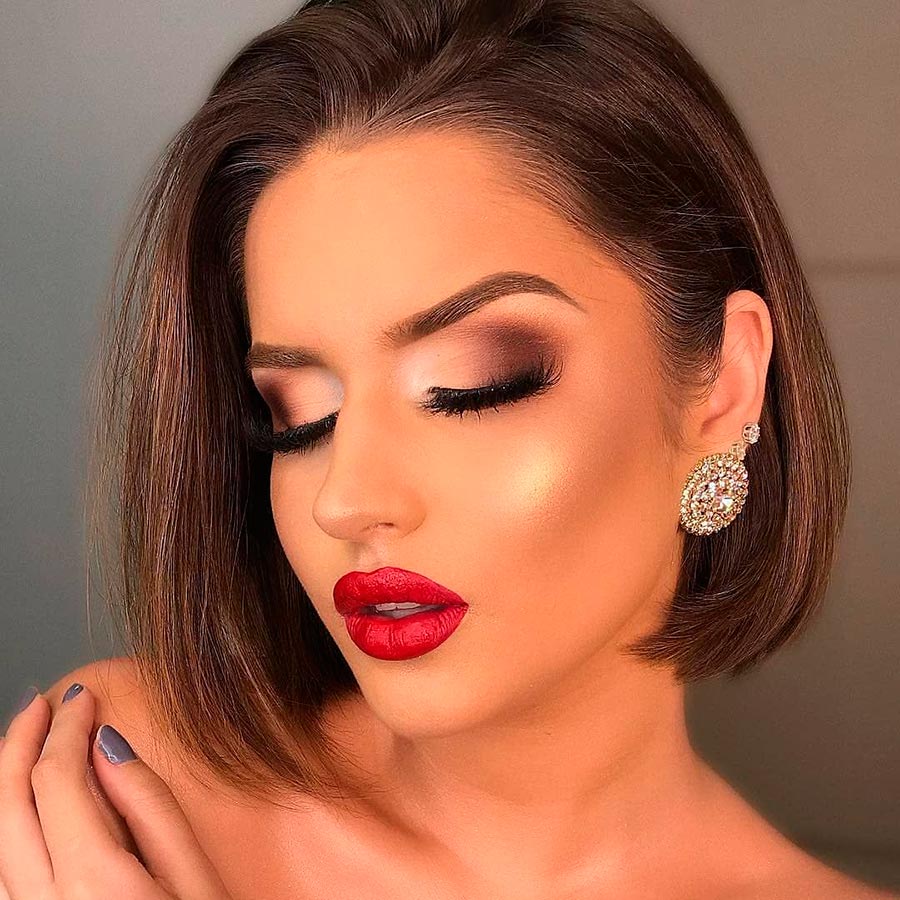
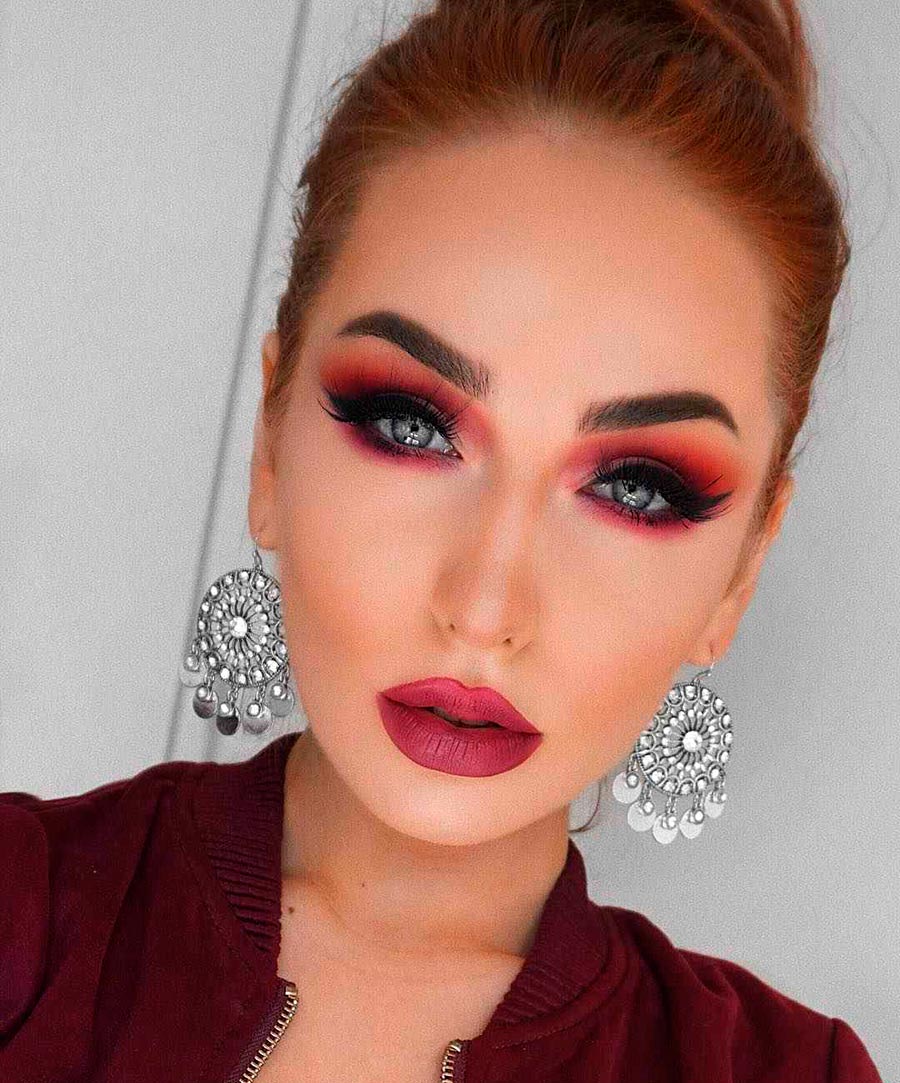
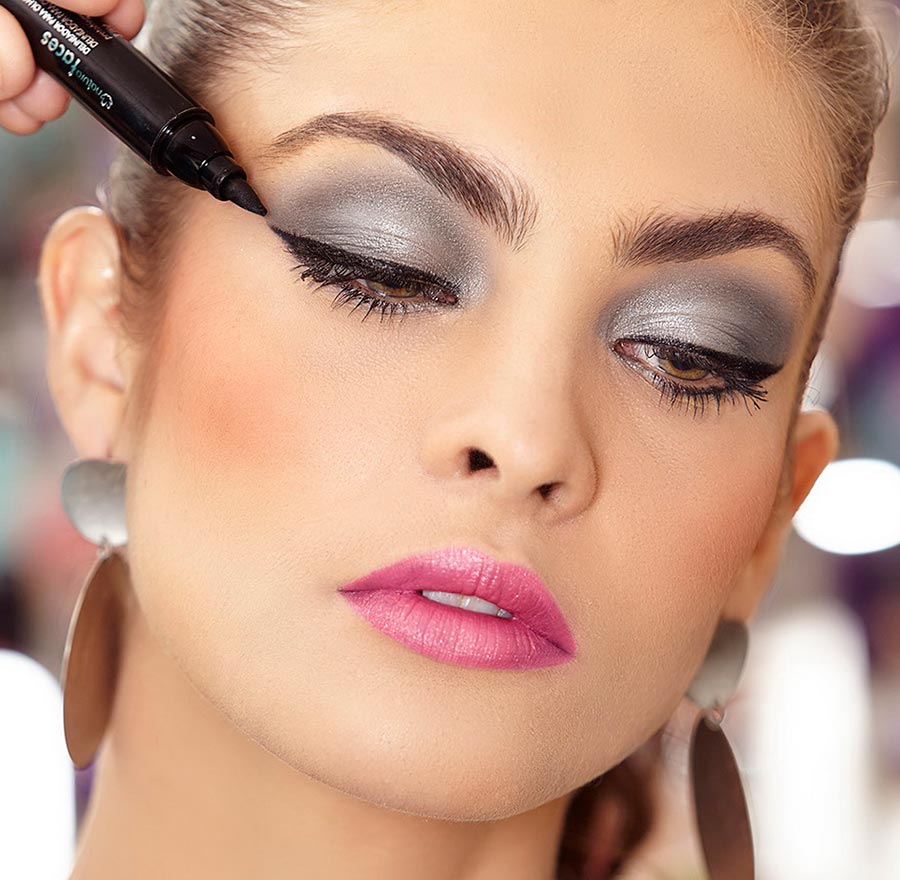
Eye makeup often requires real jewelry and precision. Especially when it comes to arrows. They are ideal as evening and festive visage, and combine with bright lipsticks to create a "Hollywood" effect. Draw the arrow with the tool with which you already have the skill to work. Some people like liquid eyeliners with the finest brush, while others will need harder felt-tip eyeliners with a solid sponge tip for greater accuracy. You can also draw an arrow with a soft thin pencil.
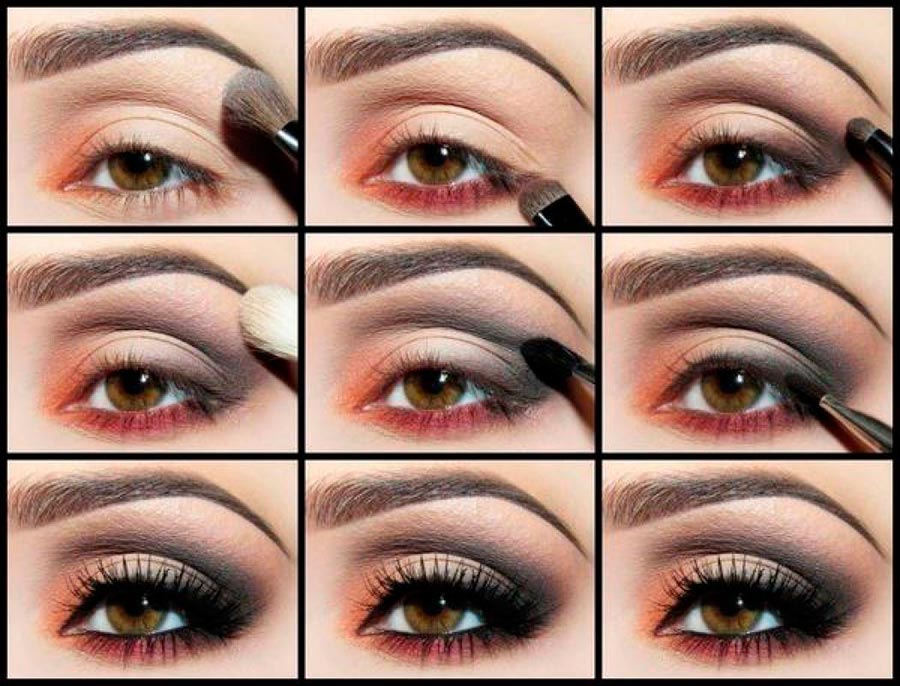
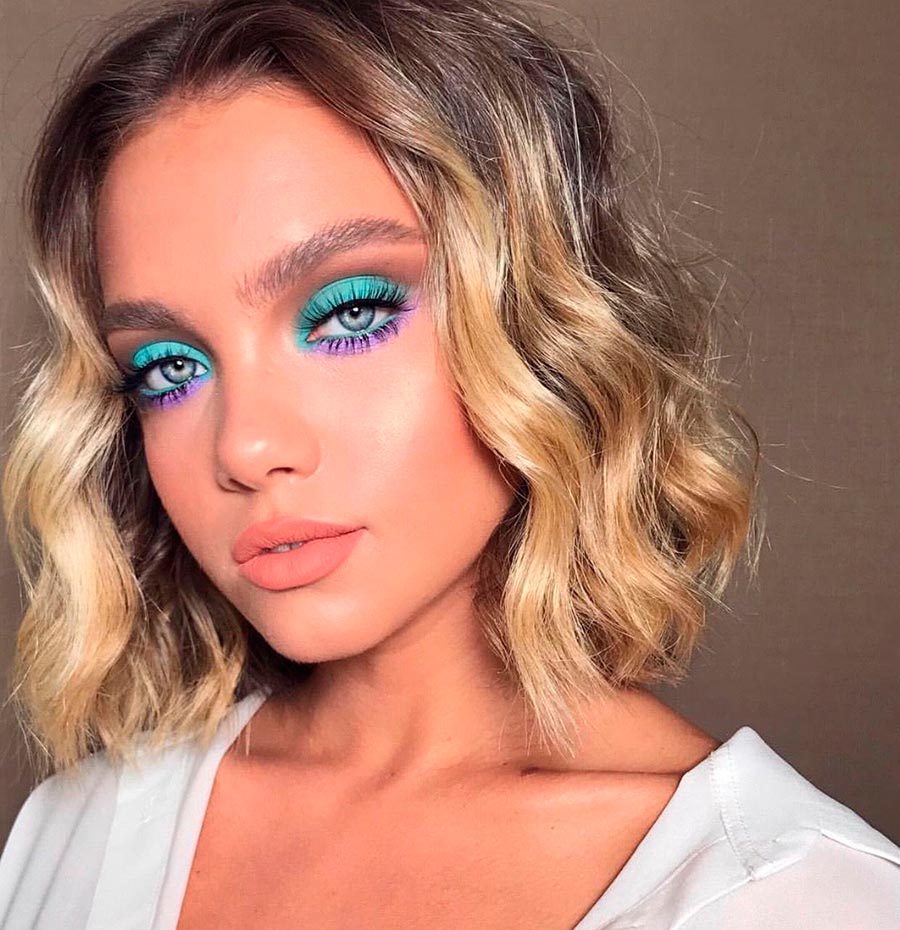
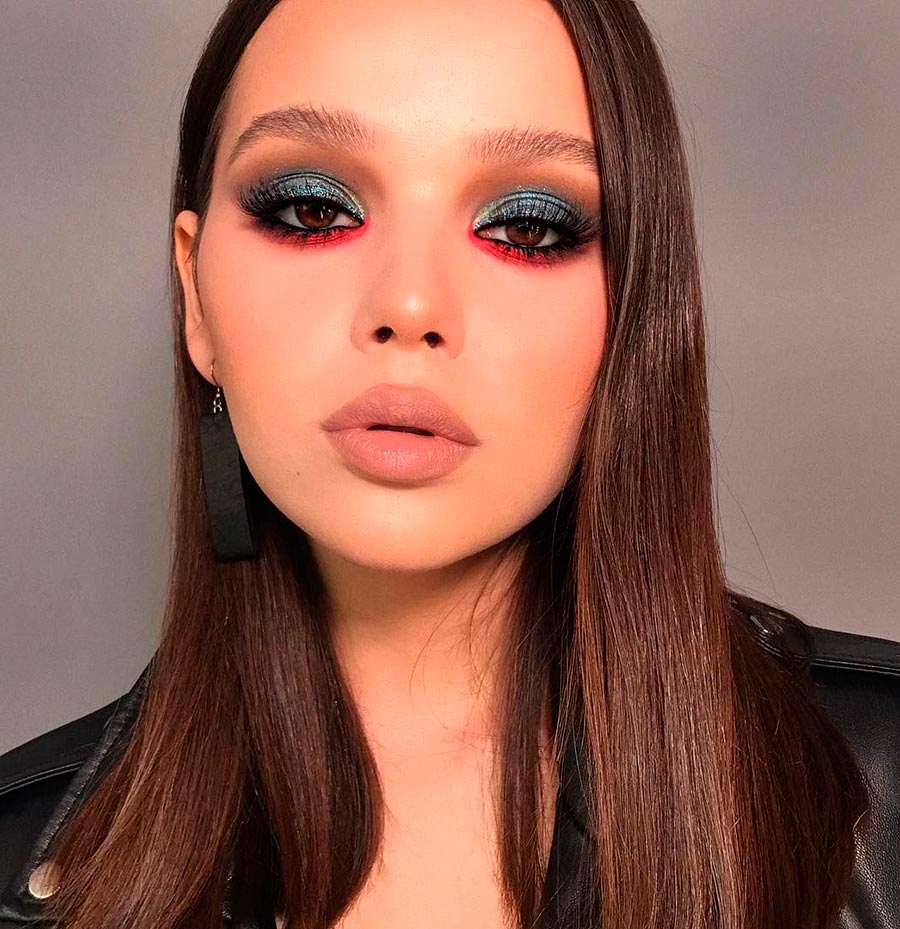
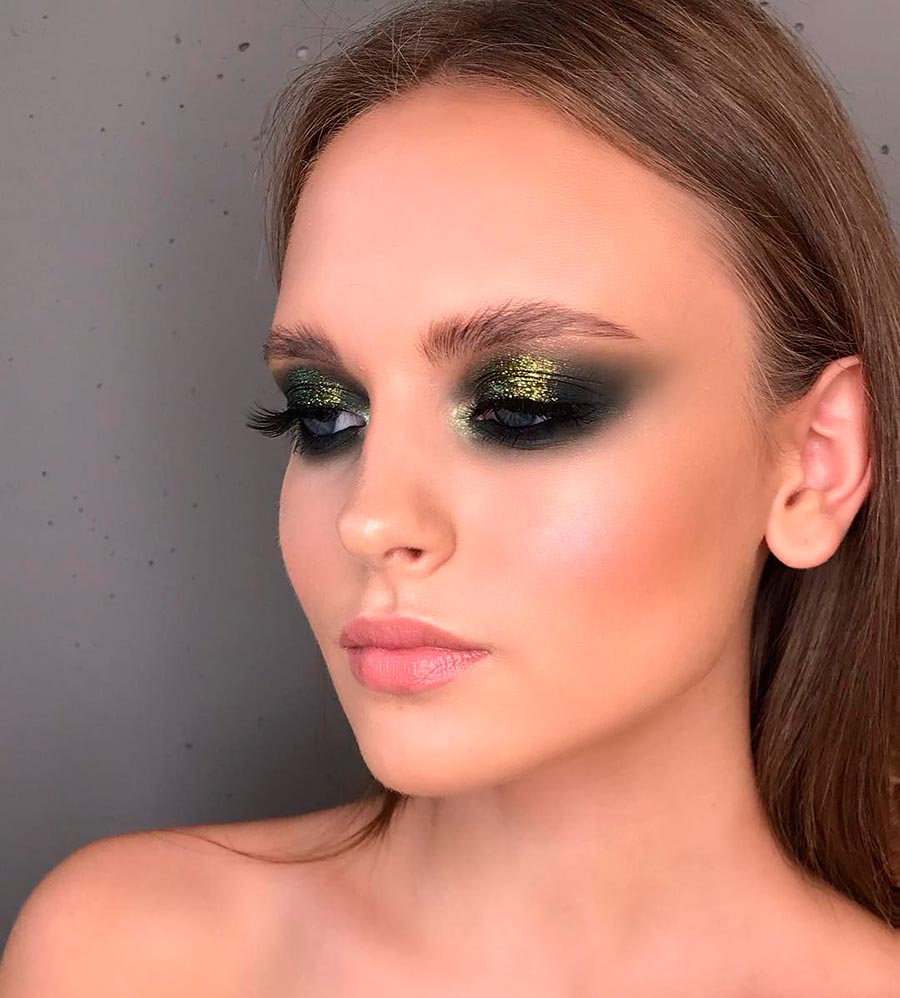
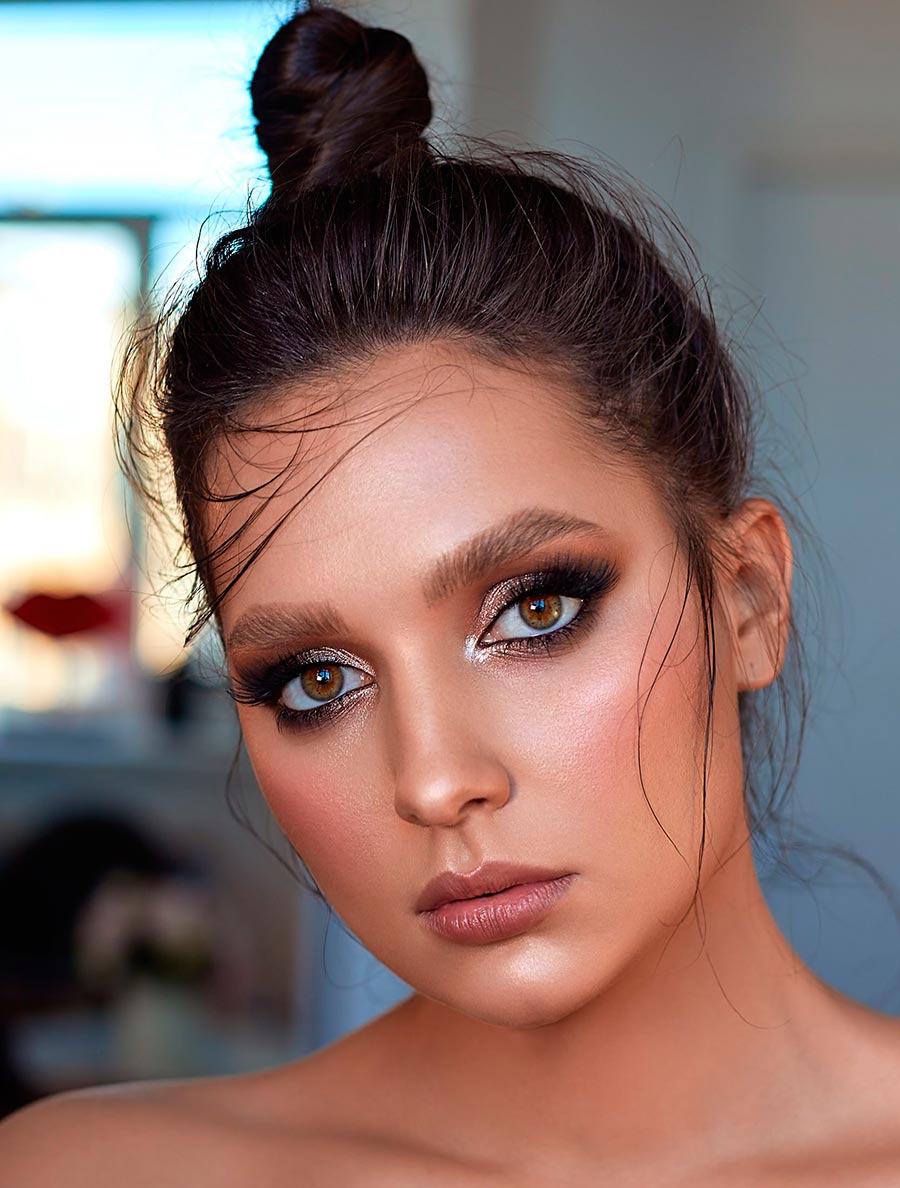
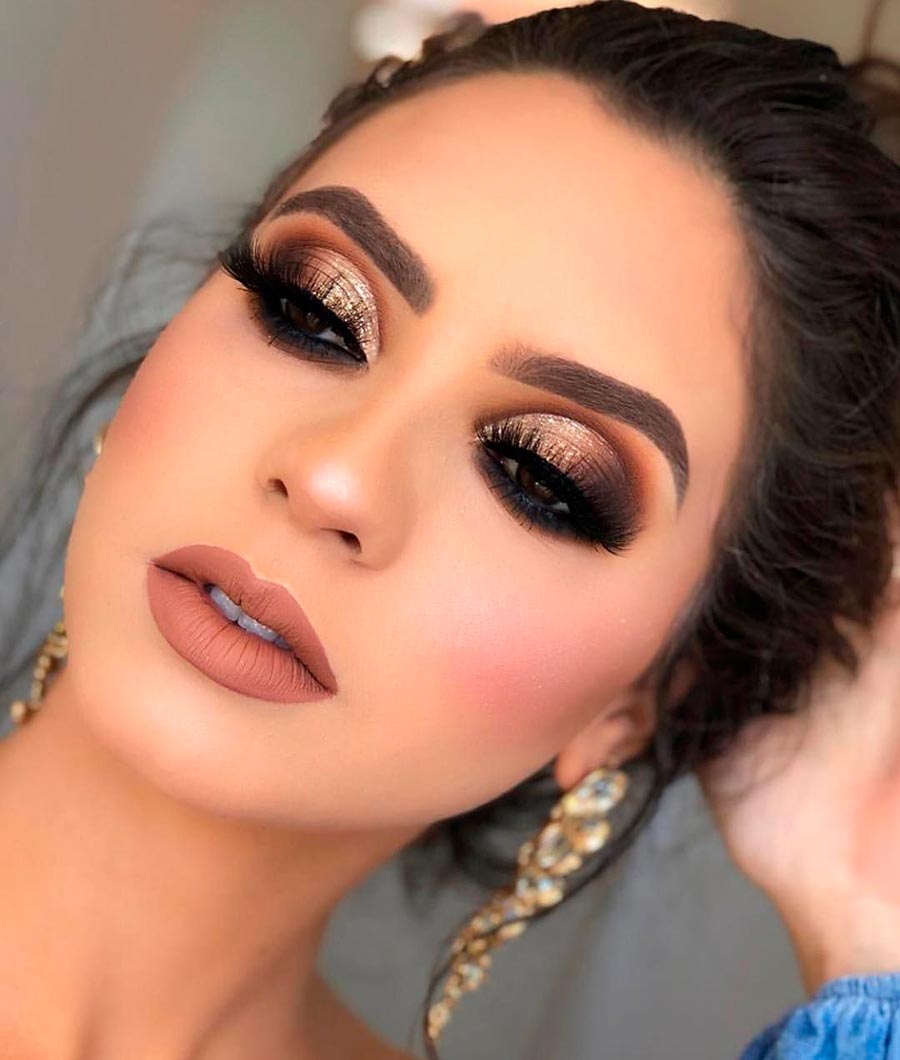
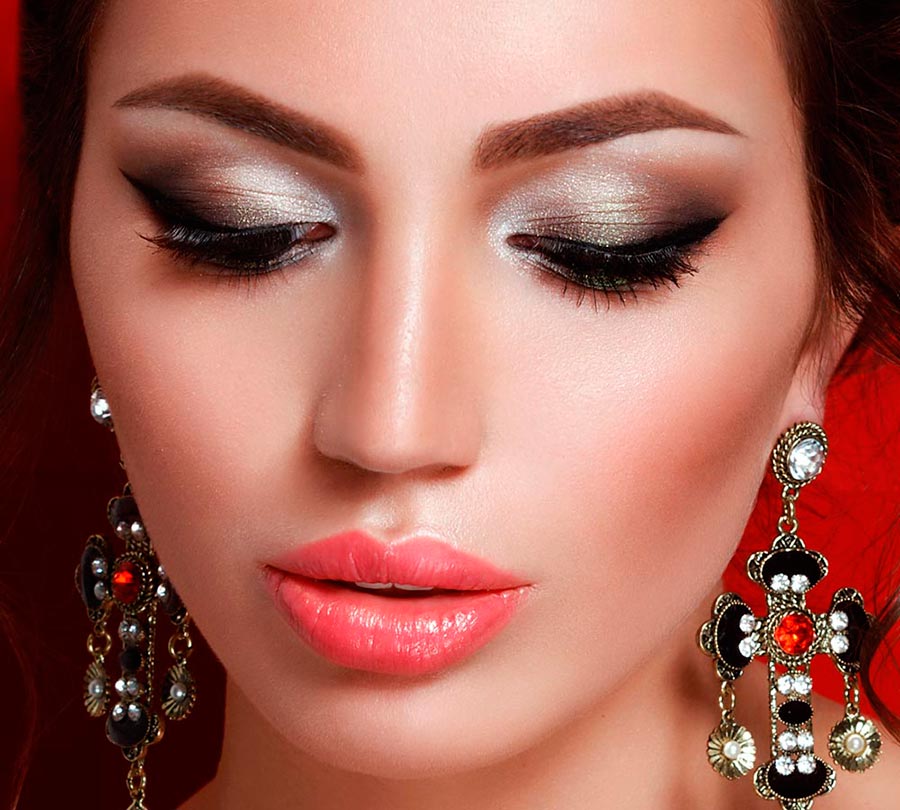
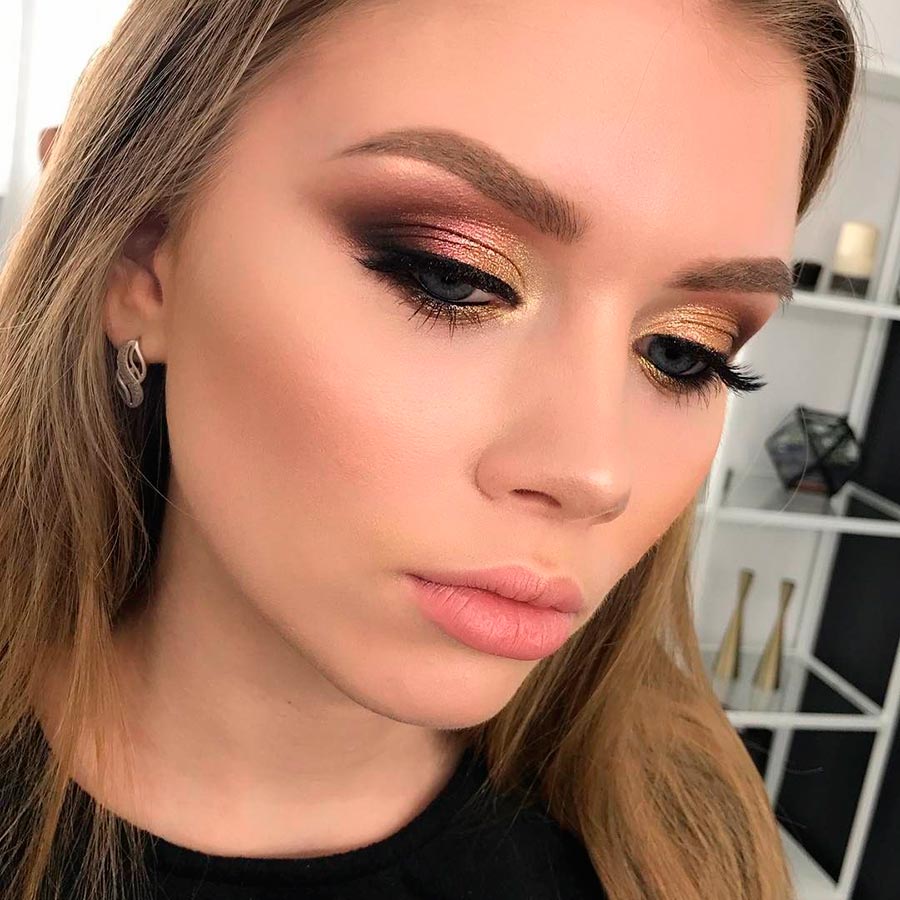
As an alternative to the arrow for evening makeup, you can use the smoky eyes effect - a smoky shading effect. For it, use dark shadows, preferably natural shades (black, graphite, chocolate, beige) or dark blue, bottle, purple. Apply eyeshadow to the upper movable lid, but blend it to avoid a clear cut line. The same is with the lower eyelid, but here try to make the area of application even thinner.
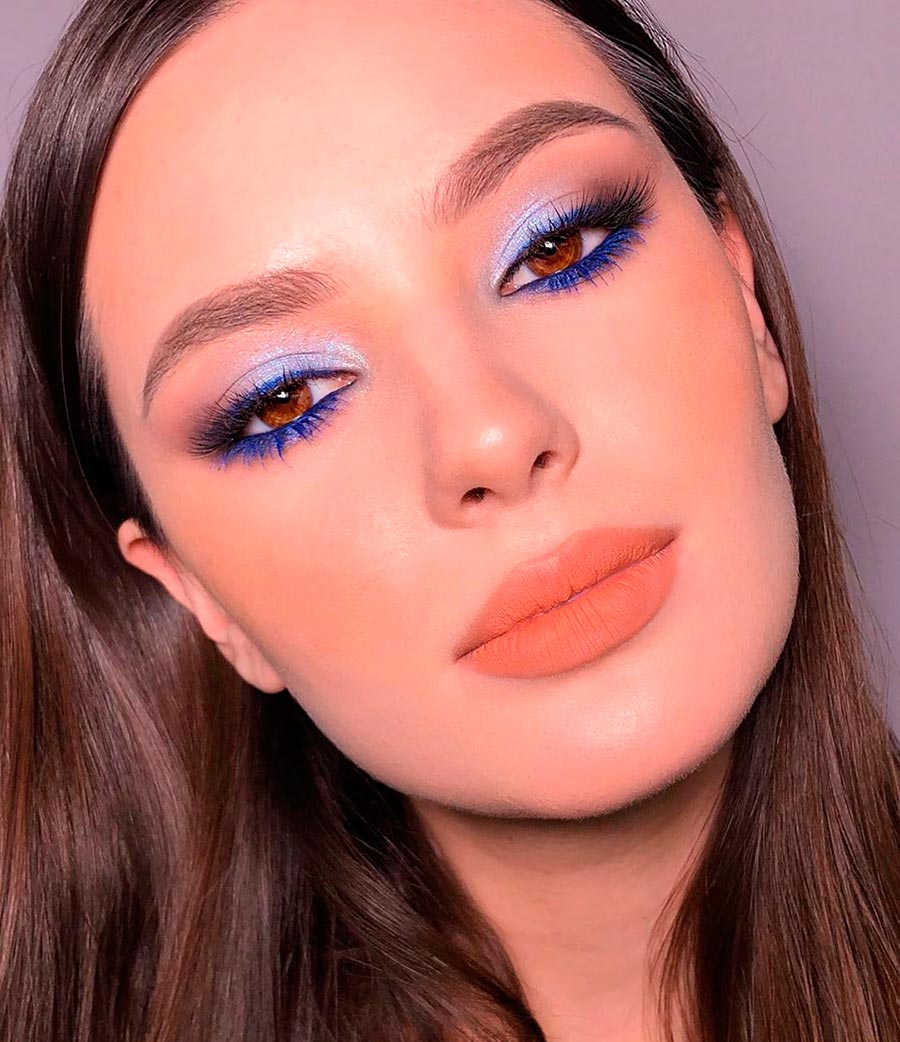
Be sure to highlight your lashes with mascara. For blondes, dark blue or brown mascaras are suitable for a softer look or emphasize the color of light eyes, and for brunettes, black ones. If necessary, use a curler before applying mascara, special tweezers to create the perfect curl of the lashes.
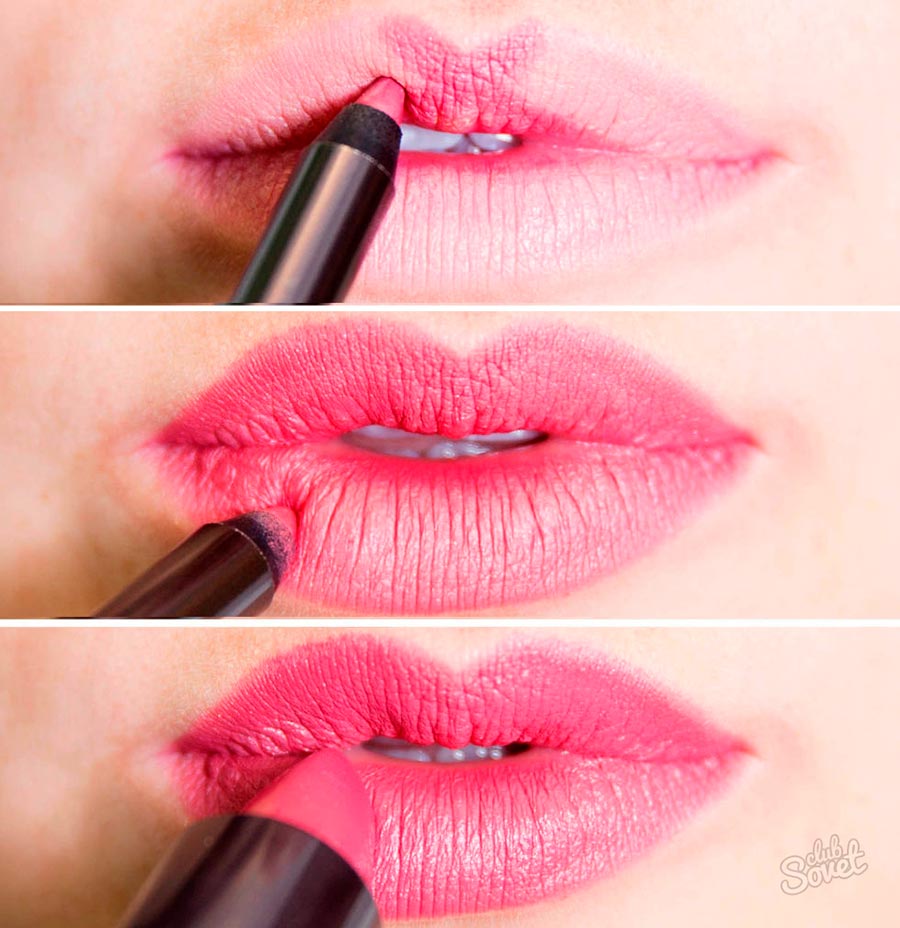
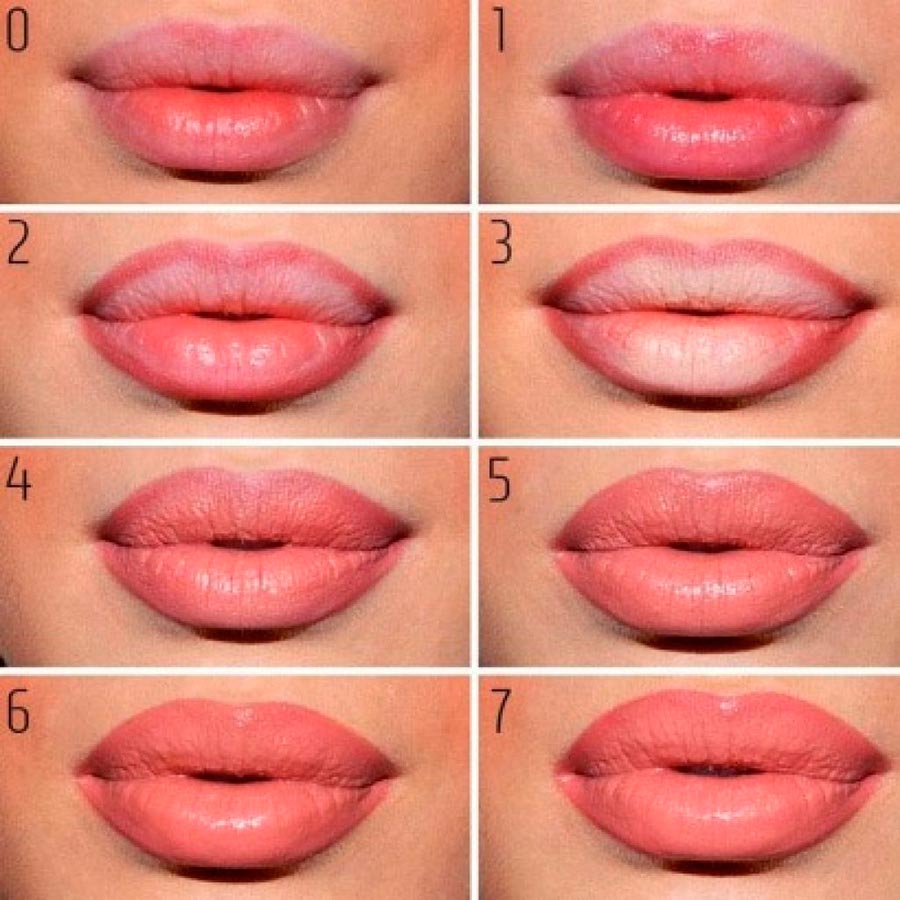
Step 9: lip makeup
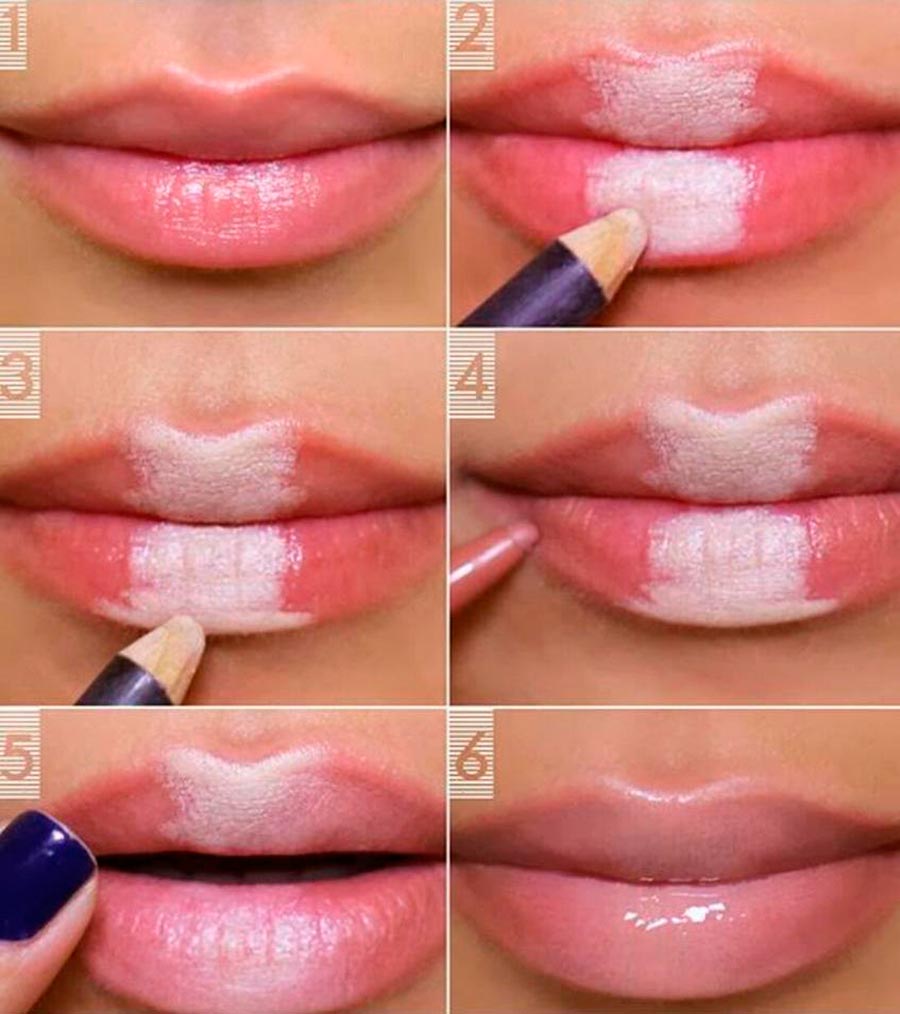
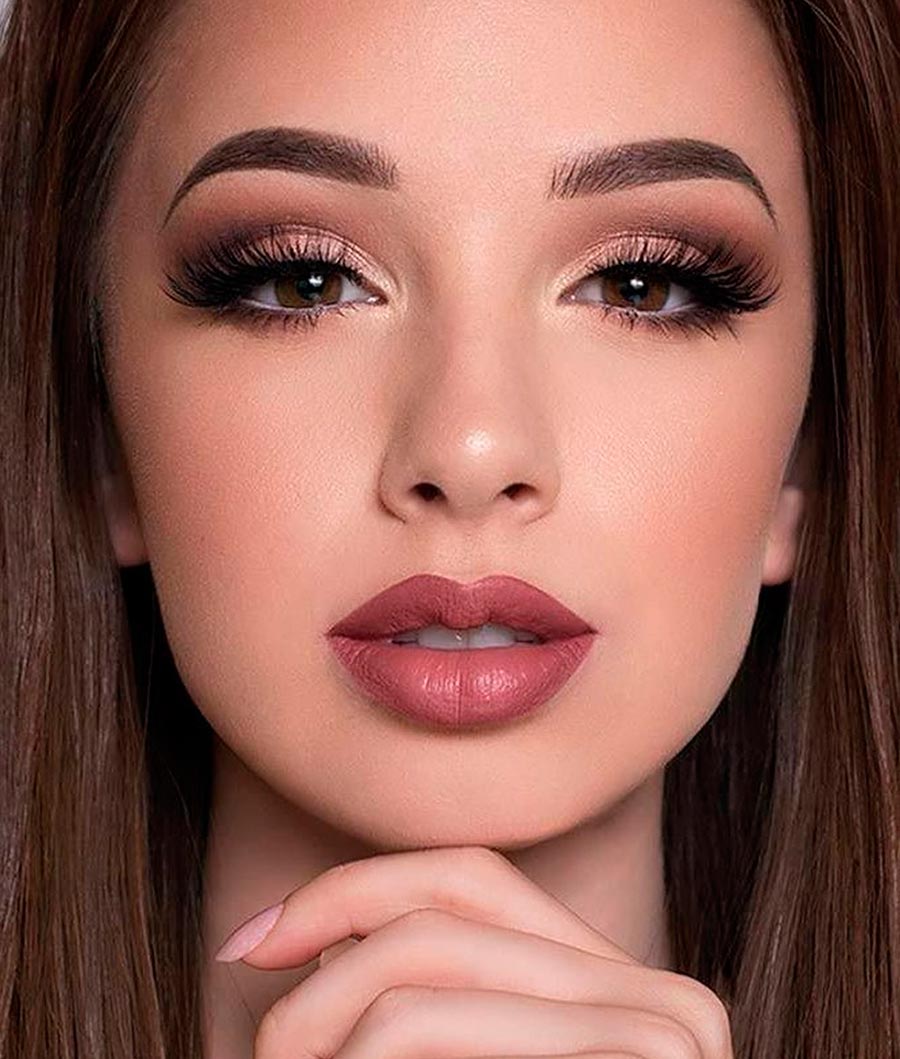
It is believed that it is best to focus on either the lips or the eyes in makeup, choosing one or the other. If you use smoky eyes effect for eye makeup, the lips should really be made more neutral. Choose not very bright and saturated lipsticks in natural nude shades, light pink or peach, brick or terracotta.
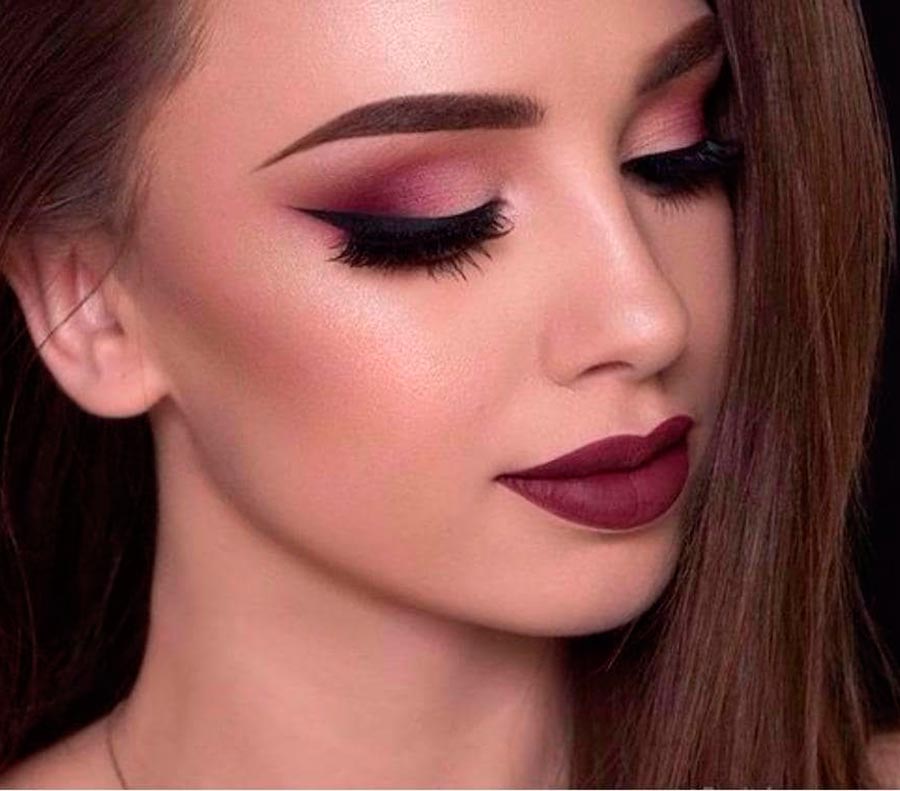
If you drew an arrow on your eyes, then the lips can be made bright: red, burgundy, even dark plum or purple. An abundance of options for choosing shades is provided by modern matte lipsticks.They also look more sophisticated than glossy or pearlescent ones, especially if you choose a dark or some kind of unusual color.
Step # 10: finishing the makeup
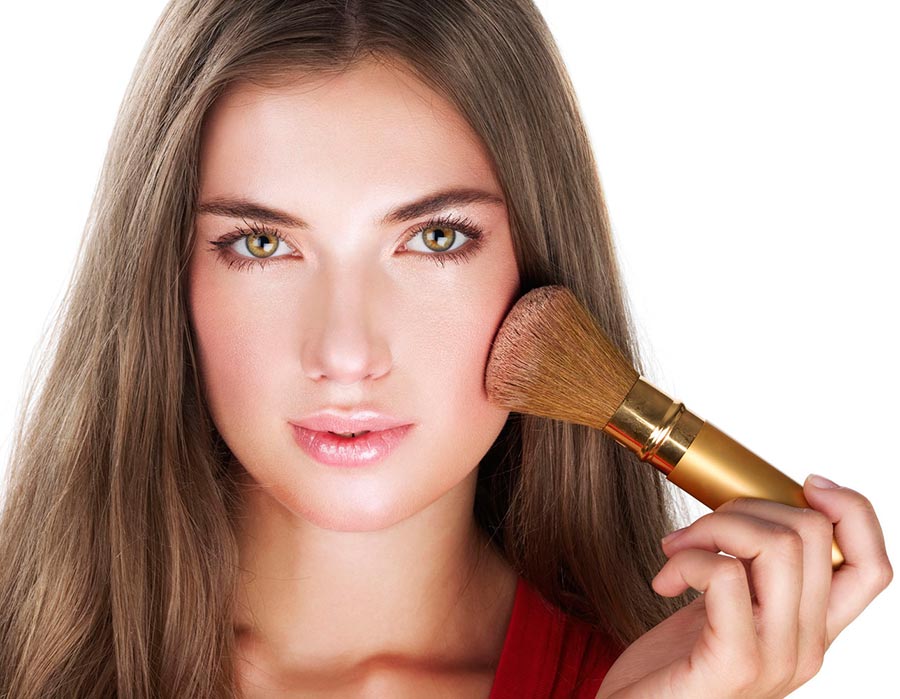
At the end of the makeup, it is worth walking over the entire face with a large fluffy and weightless brush, applying a small amount of loose mineral powder to the skin. This will remove any excess makeup that may have peeled off on your cheeks (for example, eye shadow and eyebrow shadows or bits of mascara). It is possible to apply a little blush to the prominent part of the cheekbones if the dark concealer for sculpting was not enough. Also, the highlighter can be applied to the skin after the loose powder, at this stage, and not in step number 6 - then the effect of radiance will be more pronounced.
Author Tatiana Maltseva
Comments and Reviews
Add a comment
Rating news
Shades of clothing that make women look younger
What shades of hair make women younger: rules and photos
Funny wedding dresses - photos and ideas
12 most expensive down jackets for the winter
How to look 25 at 40: tips from supermodels
Beautiful schoolgirls
Anti-aging haircuts and hairstyles for women
Fashionable skirts for autumn and winter
Fashionable women's trousers for the cold season
Fashionable and stylish sandals for summer 2024
Spring-summer 2024
 Fashionable dresses and tops with thin spaghetti straps
 Bandana tops: how to wear stylishly and beautifully
 How to put together the perfect men's wardrobe for the summer
 Fashionable shorts for spring-summer 2024
 Fashionable skirts for spring-summer 2024: a guide to online shopping
 The most fashionable dresses spring-summer 2024: styles and colors
 Fashionable total look 2024: ideas of images and trends
